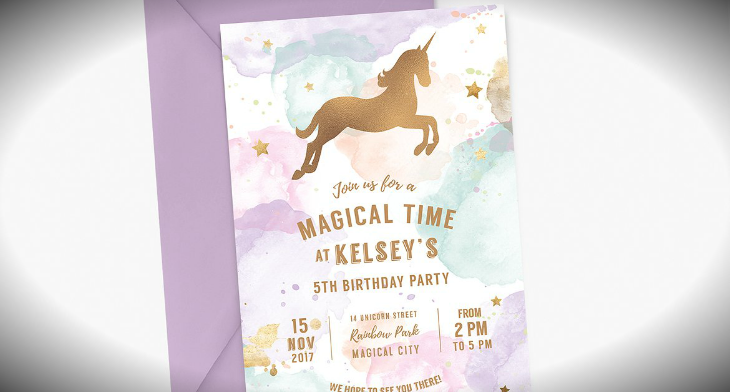
You may already be planning an event for a birthday, hiring a food catering service, making reservations, and all those, but the one question remains: have you prepared birthday invitations for the expected guests? It is always best to have the invitations prepared so once you start hiring the catering service and reserving a venue for the event, you will already have a clear picture as to how many people will be in attendance.
In any form of event birthdays, weddings, anniversaries party invitations will always be a necessary tool for informing people about that said event and that they are being expected to come to it. Most people would resort to doing this via phone calls or text messages, which may be informal especially when you need to include an RSVP. And this is why the traditional invitation cards are still being used, because it is proven effective as well as meaningful. To guide you on how to make your own birthday invitation design, check out the simple steps listed below.
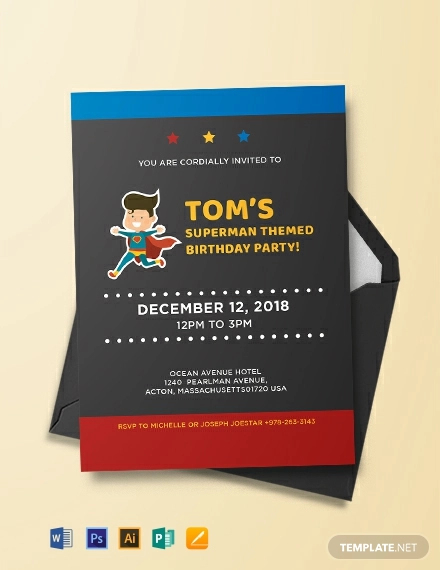
Superhero Birthday Party Invitation Template
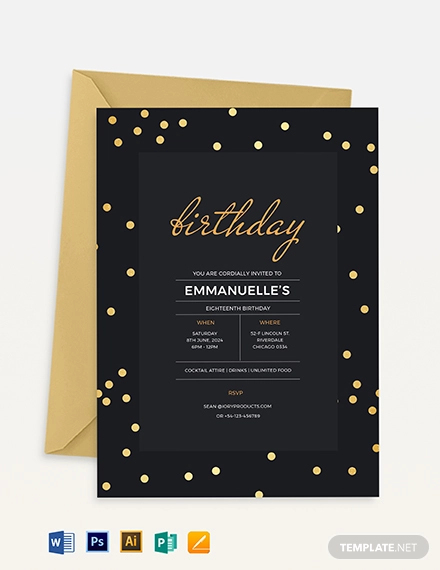
Confetti Birthday Invitation Sample
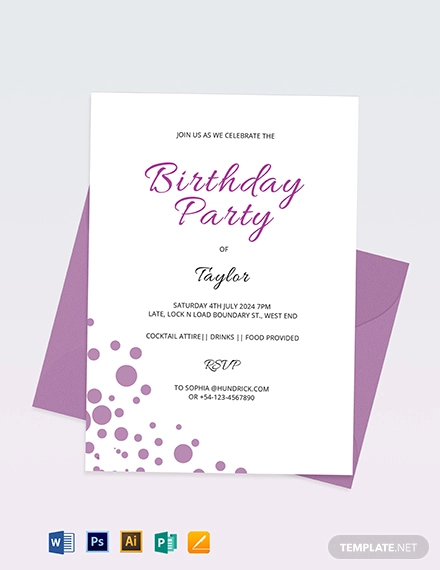
Confetti Birthday Invitation Template
Butterfly Birthday Invitation Template
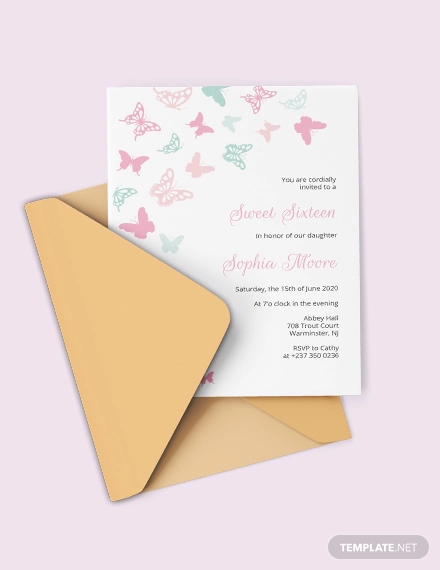
Twins First Birthday Invitation Template
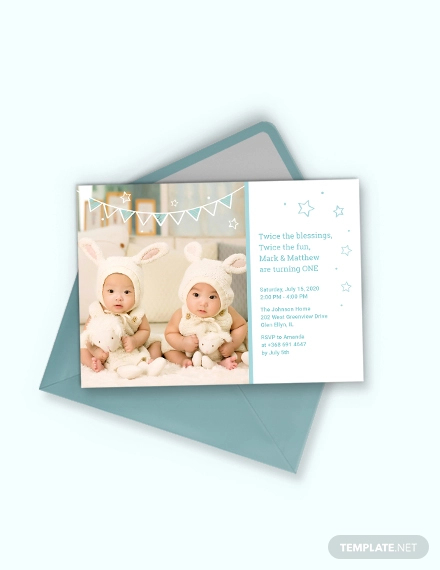
Baby Girl 1st Birthday Invitation Template
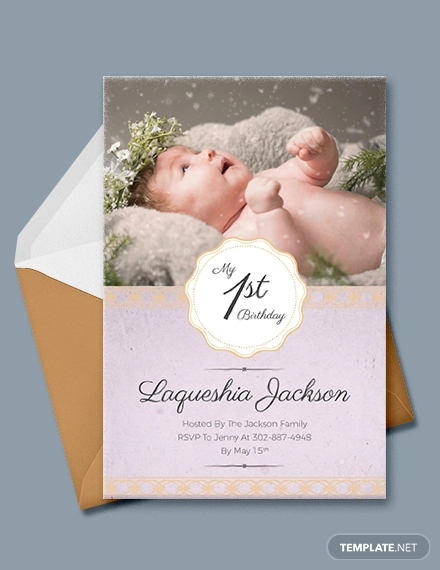
Office Birthday Invitation Template
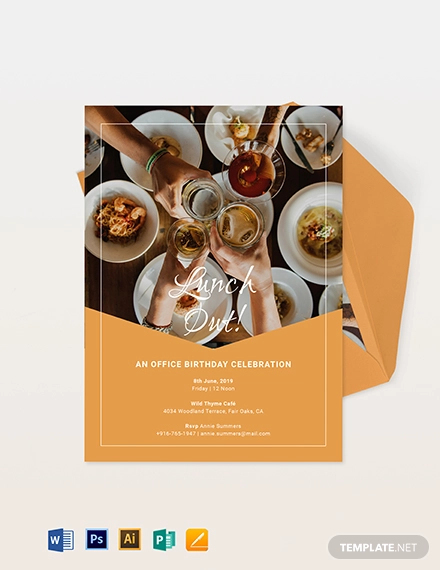
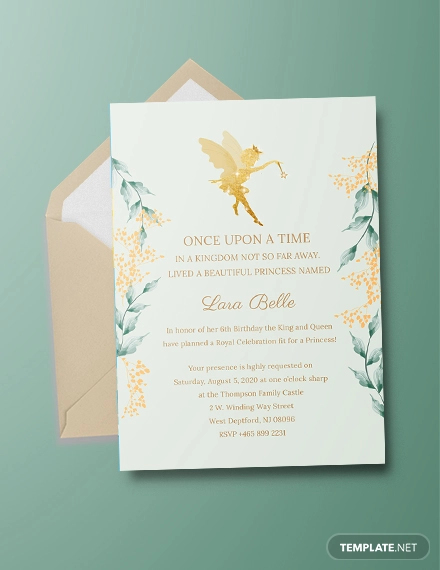
Princess Birthday Party Invitation Template
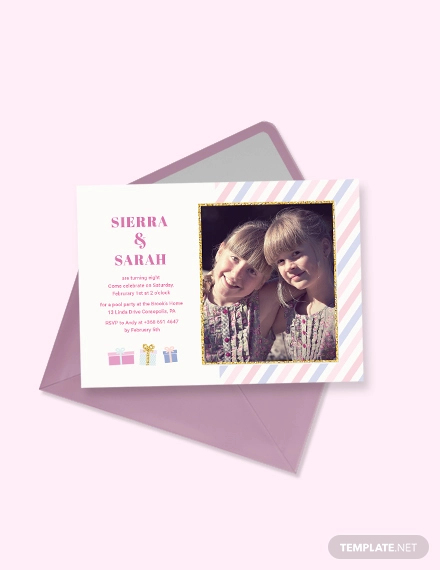
Twin Birthday Invitation Template
Preparing the Needed Materials
Before even starting to make your birthday invitation design, you should at least have most, if not all, of your materials ready at hand. While you may be able to do this after you have already finished making the design of your invitation, but it may be more time-consuming than having to prepare the materials beforehand.
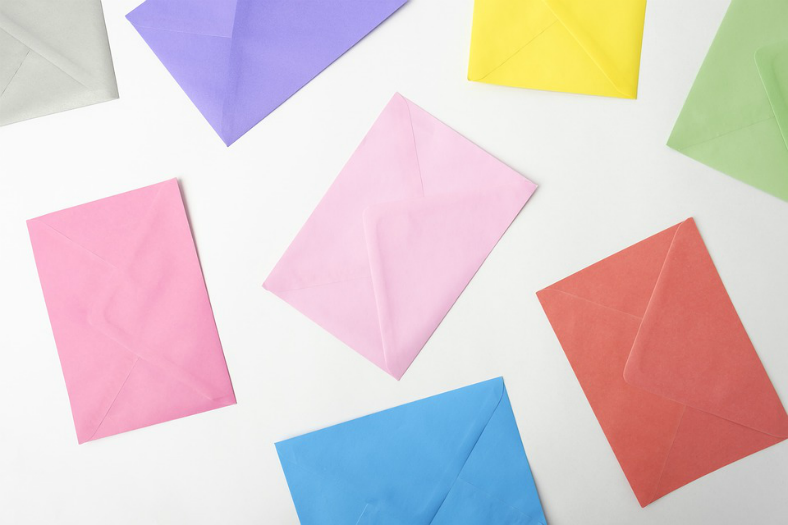
In every project, regardless whether they are for formal or casual events, it is always recommended to invest on the use of high quality materials. Though the most expensive ones isn’t always associated with having the best quality, it is best to ask around or seek advice from people on which materials offer the best quality.
For the card itself, look for stock or thick paper that is able to bring out vibrant colors from the design and will not easily get smudged. And for the printing equipment, if you choose to print the invitation design yourself, make sure to set your printer to print in the best resolution.
Writing a Draft of the Necessary Information
While doing this step may seem time-consuming if you don’t think one step ahead of the process, it may actually save you a lot of time if you do this step correctly. The reason behind this is if you write a draft beforehand, you will already have a clear idea on what to include on your invitation card once you actually start making it on the computer.
If you have a draft written already, then there won’t be any hindrance once you start editing the design and adding all of the necessary features on your invitation card.
Writing a Personalized Message
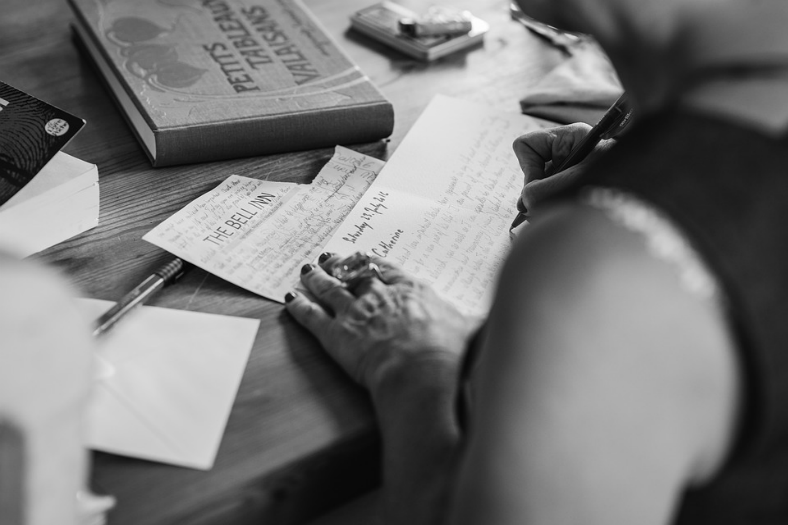
An invitation card without a personalized message can still work, and you can still give out generic copies of your card with the only difference being the name of the invitee that is written on the front page.
But why give out generic invitation cards when you can exert extra effort in making it even more meaningful by writing a short personalized message? This way, the reader will really feel that your invitation is sincere and that you really want them to come to the birthday celebration.
Writing the Date and Time of the Event
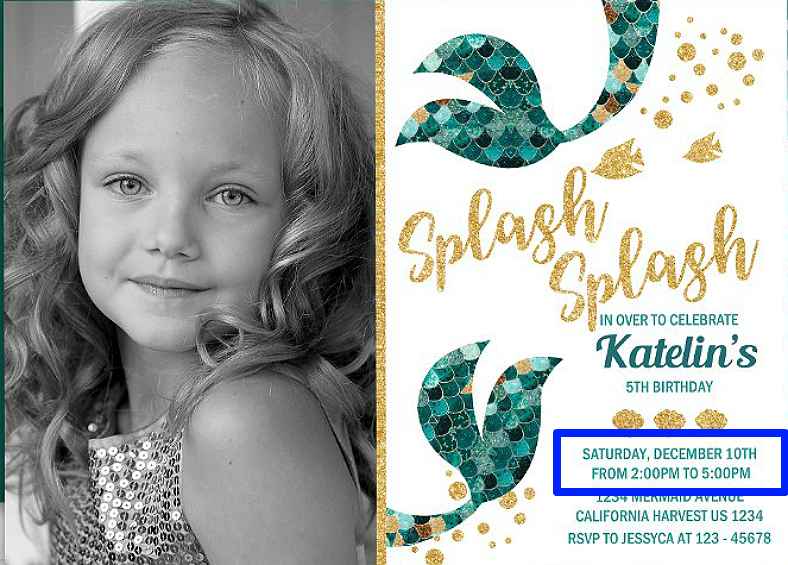
This is the most important part of an event invitation, which provides the invitee with the needed information regarding the event. It is on this area where the reader will be informed on the specific date of the birthday celebration and the time when the event will commence.
When writing the time of the event, most hosts will write a time that is earlier than the actual time that the event will commence, and this gives the invitee enough allowance time in case they might get stuck in traffic, or any factor that may get them a few minutes late.
Writing the Venue that the Event Will Take Place
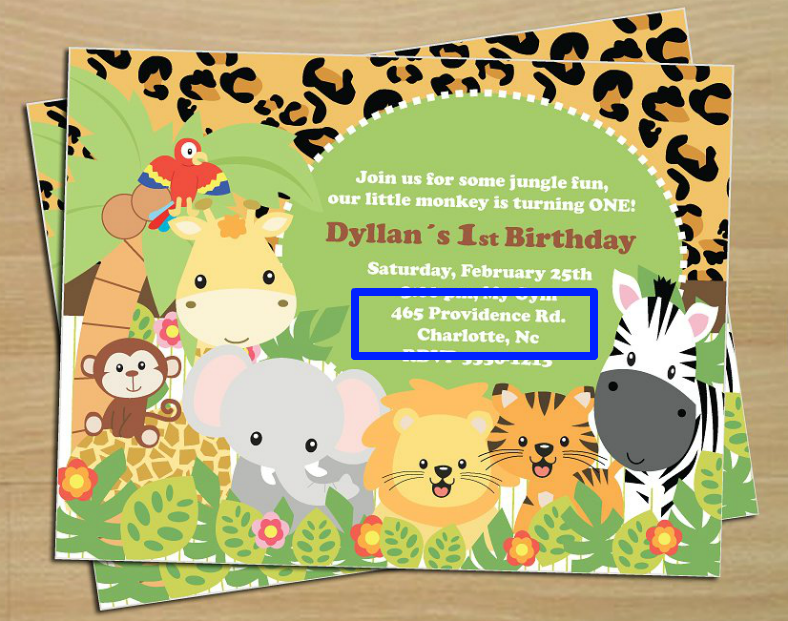
The section of the invitation where the invitee will be informed regarding the place where the birthday celebration will be held. When writing this section, make sure to double-check if you have written the numbers correctly and if the street name is also spelled accurately.
Though this may be an optional addition to the invitation, you may include a short instruction as to where to go or which street to take for the invitee to find the venue easily. Another option is to make a small map somewhere on the card, including only the necessary streets and a few landmarks near the venue.
Providing Additional Information
Some invitations may only include the two most necessary details mentioned above, but if you want to add a little bit more, then why not? As long as it’s something relevant and appropriate, then it can be added. One additional information you can write on the invitation is the motif or theme of the celebration, which will make the event more enjoyable, and this is mostly applicable to children’s birthday parties.
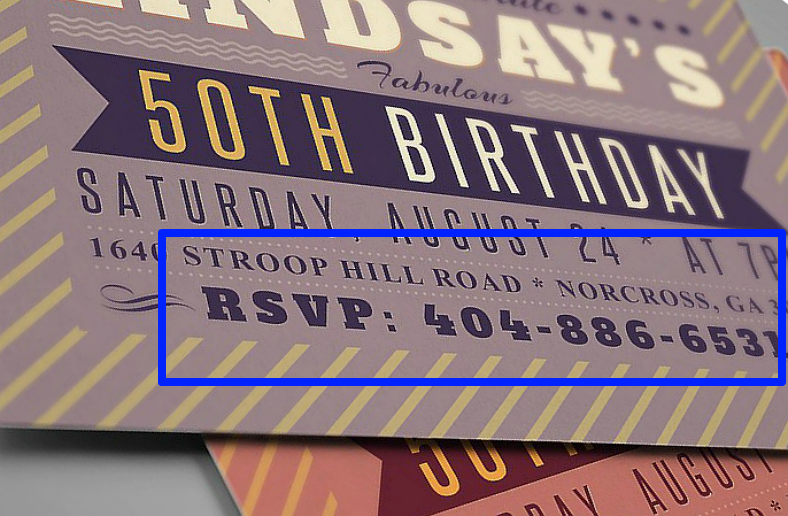
Another optional information that you can include on your invitation card is the RSVP. The French abbreviation, which stands for “Répondez S’il Vous Plaît,” translates to English as “please respond,” and it is on this area where the invitee will need to confirm if they can make it to the event or not. When including an RSVP, make sure to also include a date or a deadline that the invitee should respond to allow the host enough time to prepare the number of attendees.
Making the Front and Back Page Creative
While many would say that formal invitations don’t need a lot of fancy features on the design, but even formal birthday invitation cards need a little bit of artistic touch to make it presentable. At least when it reaches the person/s who is/are invited to the birthday celebration, they will know that even a little effort was exerted in making the invitation card.
Downloading a Pre-Designed Invitation Template
Making the creative features on an invitation card is no longer an issue today. Back then, people would have to make every single one of their invitations from total scratch, and some would even have to do it by hand, but this isn’t how it’s done nowadays.
With the abundance of pre-designed templates that you can download on the Internet, you now have the convenience of just downloading a design and then edit it to suit your preferences. Some of these designs are free and some are also paid, but even the free ones you can get online are of high quality.
Editing the Invitation Design
These pre-designed templates are mostly in vector format, and the reason behind the use of vectors instead of rasters is because vectors have better quality and are easily editable. Raster graphics consist of small blocks of colors—otherwise known as pixels—which, when enlarged, are stretched resulting in the image becoming blurry or pixelated. Raster graphics are also composed of a single image only, which means that you cannot take each element apart from others.
Vector graphics, on the other hand, are not made up of pixels, rather, they are made up of codes and pathways that adapt to whatever size you want for the image. Because of its adaptability, vectors are able to retain its sharp resolution even when enlarged or shrunk. Vectors are also composed of layers of different elements that can be individualized and taken apart if you choose to edit only a specific element on the image without touching the others.
Printing the Invitation
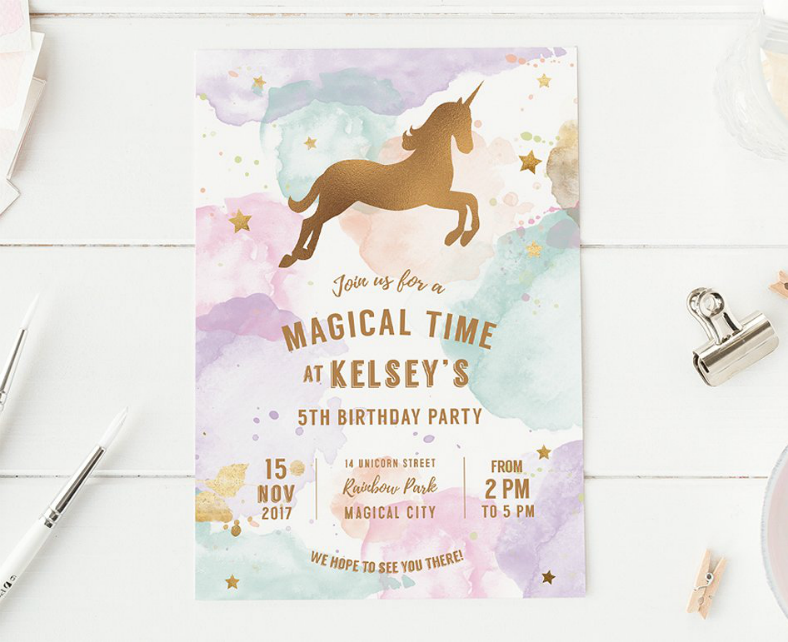
Finally, getting the invitation printed on to a card stock to see the end result of your efforts. Here, you can choose to either hire a professional printing company and have them print your invitation cards for a fee or you can also do the printing yourself.
As mentioned earlier on this article, if you choose the latter option, make sure that your printer is set to print in the highest resolution, and that you have enough ink toner to do the task. And also, as we have said before, please use high-quality materials for printing your invitation cards.
Distributing the Finished Invitations to the Expected Guests
Hooray! You have finally printed all your birthday invitation card designs, and the only thing left for you to do is distribute them to the people that you expect to come to the event. For this, you can choose to have the card mailed to its designated recipient, which may take time, or you can have the card delivered personally, which may take effort. Time versus effort, it is all up to you.
Related Posts
15 Halloween Party Invitation Designs
43+ Party Invitation Designs in PSD
19+ Anniversary Invitation Designs – PSD, AI, Word
13 Marriage Invitation Designs
11+ Graduation Invitation Card Designs – PSD, AI, Word, EPS
18 Valentine’s Day Invitation Designs
28+ Party Invitation Designs – PSD, AI, Word
39+ Wedding Invitation Designs – PSD, AI, Word
Plan the Best Party with These 7+ Labor Day BBQ Invitation Cards
30+ Birthday Invitation Card Designs – Word, PSD, AI, EPS
28+ Wedding Invitations – PSD, AI, EPS
22+ Bridal Shower Invitations – Printable PSD, AI, Word, EPS
16+ Engagement Party Invitation Designs – PSD, AI
36+ Baby Shower Invitations – PSD, AI, Word, EPS
Gender Reveal Invitation Designs – Printable PSD, AI
